
By nature, I am not terribly organized. Organization is something I have had to work really hard to develop. As an elementary music teacher, it can be really difficult for me to keep track of what I've taught, when I taught it, and what songs I used. I've known that I needed a better way to track what I'm doing in my school, but the teacher planners available just don't have what I've needed. So at the end of the last school year, I started thinking about what I wanted in a planner, and then I went about creating my own.
For a basic layout, and my master calendar, I purchased this set from Teachers Pay Teachers.

My biggest struggle in teaching 8 grade levels is keeping track of the concepts I've taught, and what I plan to teach in each grade. Rather than writing out lesson plans, I use PowerPoint to plan and teach with, but it can be really cumbersome to look through past slides to see what I taught and what songs I used when I'll typically have 150+ slides per week.
In order to solve my problem, I decided I needed a planner page to track the songs we've worked on and when we worked on them. So I made tracking pages for each grade level (left image). I also wanted to be able to see the concepts I was targeting each month, so I created monthly target sheets for each grade (right image, left page). And finally, I needed a simple way to track what I taught each week. On my lesson tracking page (right image, right page), I included a place for notes so I can indicate if a class is behind or ahead. Additionally, I put all of the grade level concepts I hope to reach over the year in a header for easy reference. As I present concepts, I plan to circle them or cross them off so I have a quick reference.


I find it so much easier to grade on paper, rather than digitally, so I also included a grade book section.


Originally I intended on using a 3-ringed binder, but after doing a little research, I decided on disk binding, which I had never heard of before. I had to purchase a disk binding punch, which was the biggest cost at $36. I went with 1 1/2-inch disks, after realizing that the 1-inch disks wouldn't be able to hold everything.


I divided my planner into 4 sections: master calendar, weekly plans by grade level, gradebook, and notes. I laminated scrapbooking paper and used tabs by The Paper Studio, which I found at Hobby Lobby, to mark the divisions.


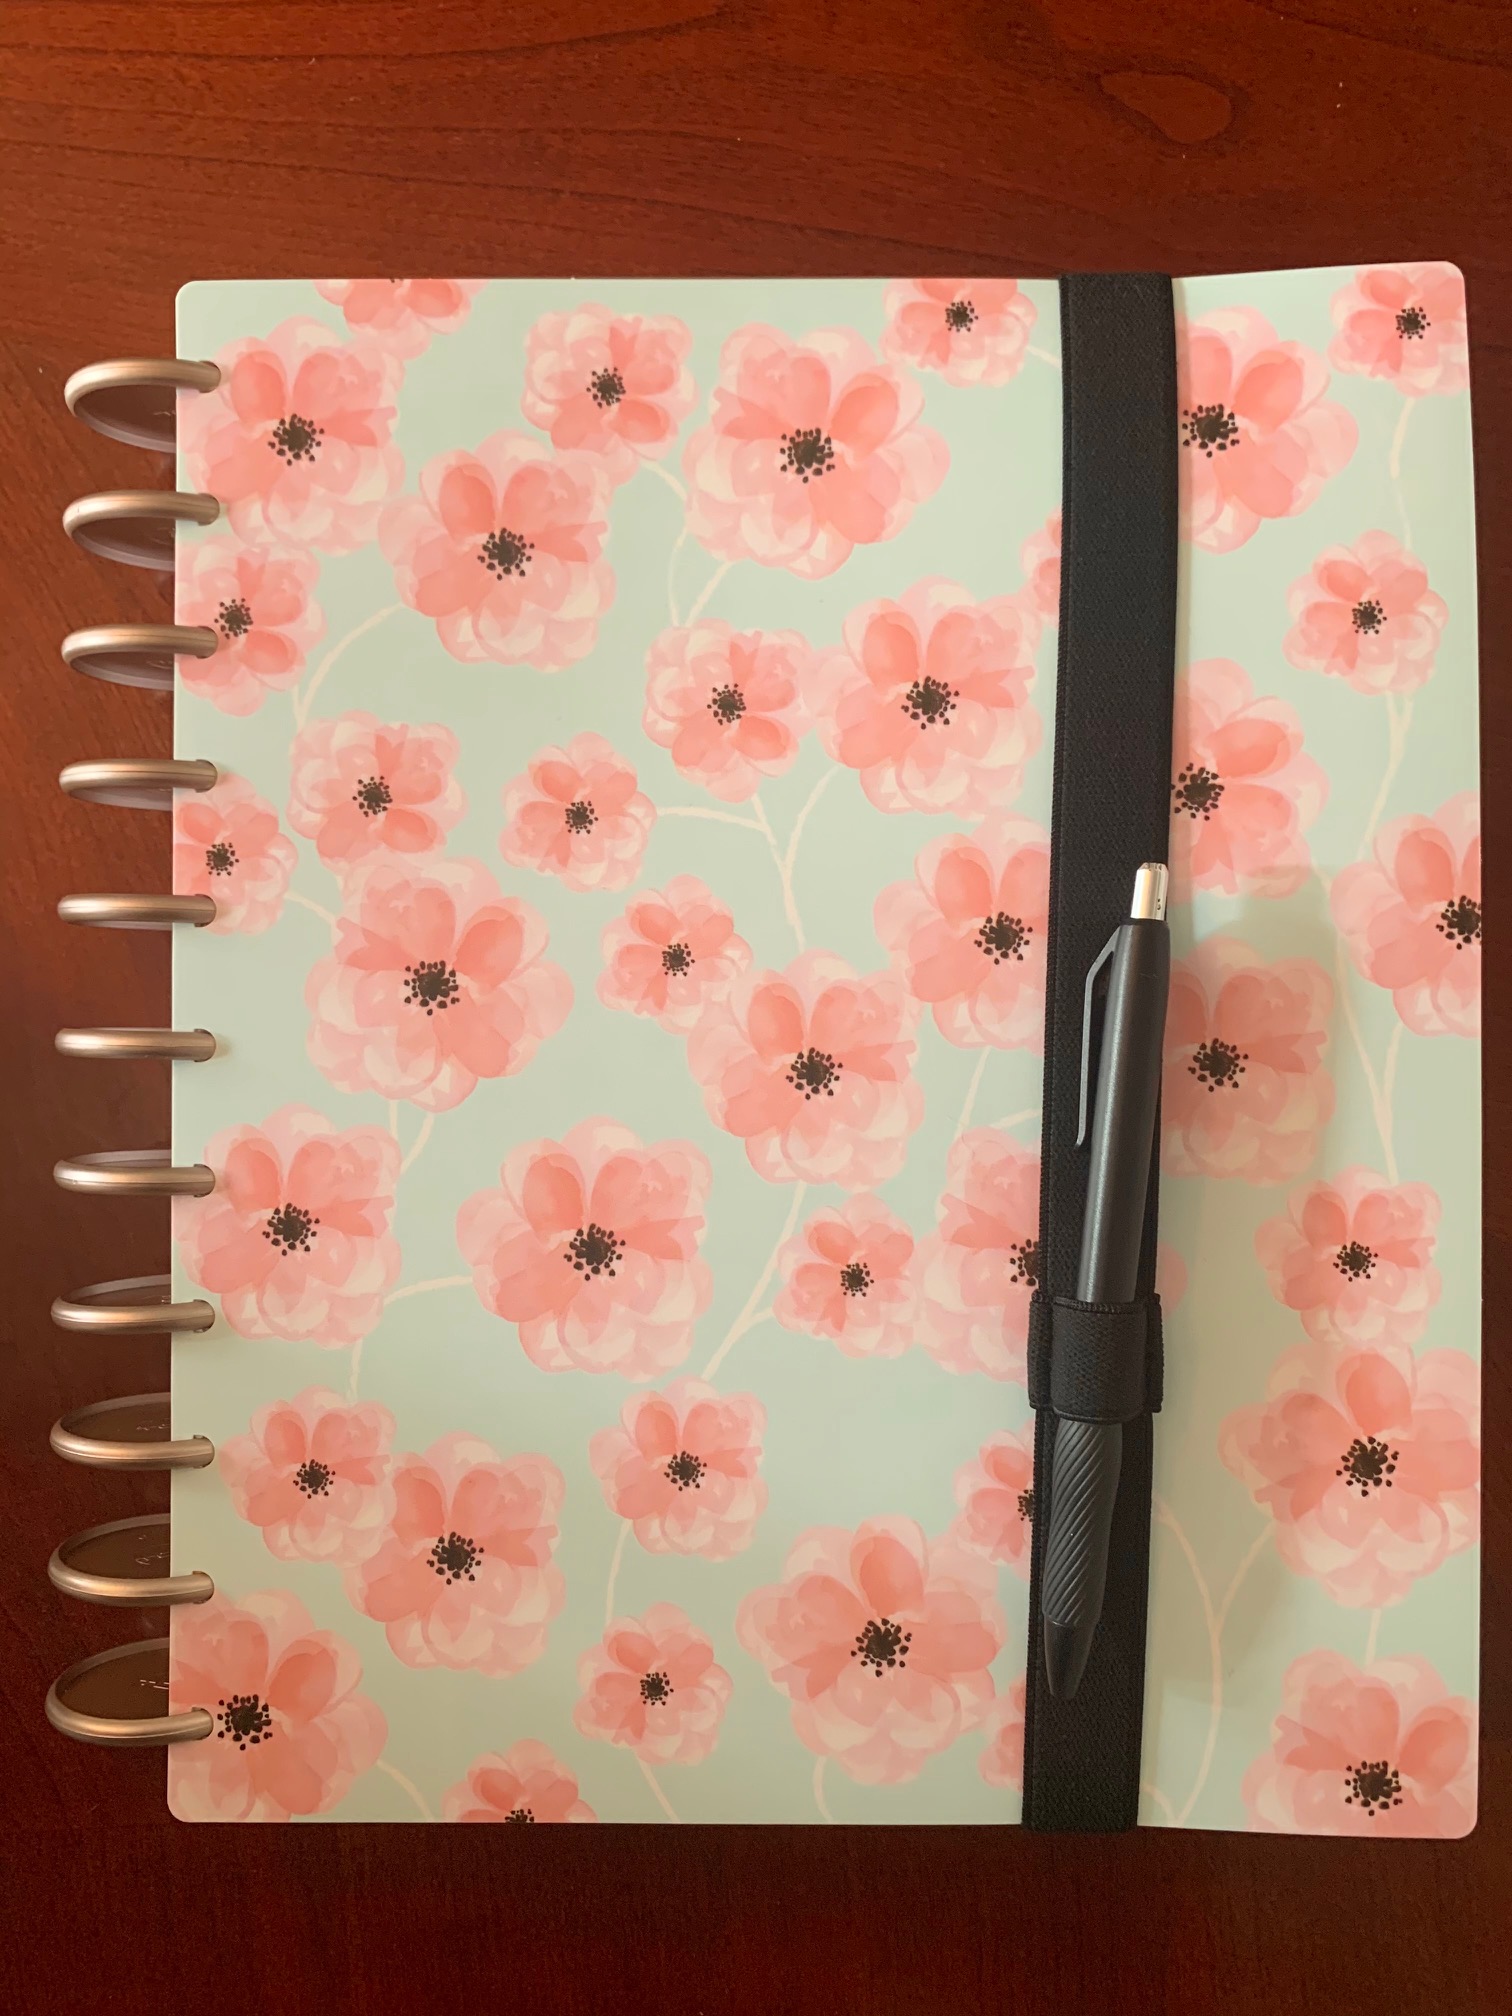
I could have easily made a cover with laminated scrapbook paper, but instead I purchased a TUL cover that seemed more durable with the intent that I'll use it for several years. I may add elements to it as the year progresses, but the disk binding makes that pretty easy. All in all, I'm in about $80 (which is a lot, I know); however it's letter size (8 1/2 x 11), and I plan to use it for years by just updating it.
You can find the pages I created for my planner at my Teacher Pay Teachers Store here.
Comments
Post a Comment